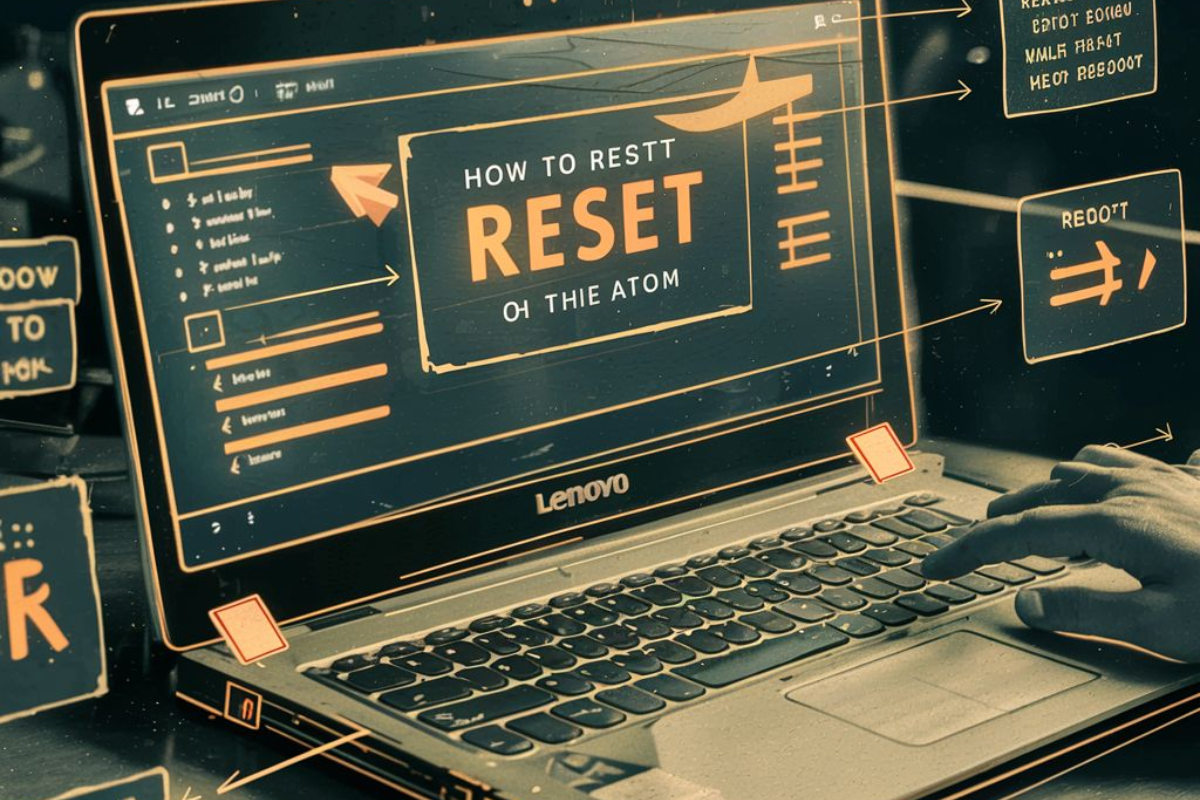
A Comprehensive Guide on How to Reset Your Lenovo Laptop
In the dynamic world of technology, our laptops often serve as the epicenter of our digital lives. Lenovo laptops, known for their reliability and performance, might occasionally require a reset to troubleshoot issues, enhance performance, or prepare for a new user. This comprehensive guide will walk you through the step-by-step process of resetting your Lenovo laptop, ensuring a smooth and effective reset experience.
Why Reset Your Lenovo Laptop?
Before delving into the reset process, let’s understand why it’s necessary:
- Troubleshooting Persistent Issues
If your Lenovo laptop is plagued by persistent issues such as slowdowns, freezes, or software malfunctions, a reset can help eliminate these problems. It provides a fresh start, addressing underlying software conflicts and restoring optimal functionality.
- Preparing for Resale or Transfer
Before parting ways with your Lenovo laptop, whether it’s for resale or to pass it on to someone else, resetting the device is essential. This ensures that your data is securely wiped, protecting your privacy and providing a clean slate for the new owner.
- Restoring Factory Settings
To revert your Lenovo laptop to its original factory settings, a reset is the go-to solution. This can be useful if you’ve experimented with advanced settings, and configurations, or encountered persistent issues that require a complete system restoration.

Steps to Reset Your Lenovo Laptop
Step 1: Backup Your Data
Before initiating a reset, safeguard your important files and data by creating a backup. Utilize external hard drives, cloud storage, or built-in Windows tools for a seamless backup process.
Step 2: Soft Reset
For minor issues or system slowdowns, start with a soft reset by restarting your laptop. This simple step can often resolve temporary glitches without affecting your data.
Step 3: Hard Reset
If a soft reset doesn’t suffice, proceed with a hard reset. Disconnect your laptop from its power source and, if applicable, remove the battery. This step helps resolve more stubborn issues by power-cycling the system.
Step 4: Factory Reset through Windows Settings
- Open the Start menu and select “Settings.”
- Go to “Update & Security” and choose “Recovery.”
- Under “Reset this PC,” click “Get started.”
- Select either “Keep my files” or “Remove everything,” depending on your preference.
- Follow the on-screen instructions to complete the reset process.
Step 5: OneKey Recovery (if applicable)
Some Lenovo laptops feature the OneKey Recovery tool. To use it:
- Turn off your laptop.
- Press the Novo button (usually located next to the power button) or use a specific key combination during startup.
- Choose “System Recovery” or “Restore from initial backup,” depending on your model.
- Follow the prompts to complete the reset.
Step 6: Post-Reset Setup
After the reset, reinstall applications, update drivers, and configure system preferences. Ensure that your laptop is optimized for your needs.

Tips and Troubleshooting
If you encounter error messages during the reset, consult Lenovo’s support resources or community forums for assistance.
Keep your laptop connected to a power source during the reset process to prevent interruptions.
Ensure your laptop’s battery is adequately charged before initiating the reset.
Conclusion
Resetting your Lenovo laptop is a powerful tool for addressing various issues and optimizing performance. Whether you’re troubleshooting, preparing for resale, or restoring factory settings, this guide equips you with the knowledge to navigate the reset process effectively. Approach each step with caution, back up your data, and enjoy a refreshed and reliable Lenovo laptop experience.